How to Prepare a Cake Pan
"Three Methods for a Perfect Cake "
There are three methods of preparing your cake pan. The first is the old fashioned way before the advent of baking paper. These days it is very easy to use baking paper which saves on mess and time. I consider baking paper one of the major best inventions of recent years!
Method 1 - Grease and Flour
1) Take a small knob of butter and using a piece of grease proof paper, or some of the butter wrapping, grease the inside of your pan. That includes the bottom and the sides. Get into the corners and be sure you have a complete cover. You don’t want any lumps of butter….just a nice even thin spread.
2) Drop a dessertspoon of plain flour in the base of the greased pan. Now pat the sides of the pan, tilting it and turning it so the flour sticks to the greased surface. You want an even coating ….but just a light dusting. Keep turning and patting your pan until the whole surface is floured.
3) Hold the pan upside down over the sink, or a piece of paper. Tap the base of the pan to remove excess flour
Method 2 - Baking Paper Base
Tear off a piece of baking paper that is slightly larger than your pan.
Round Pan
Round Pan
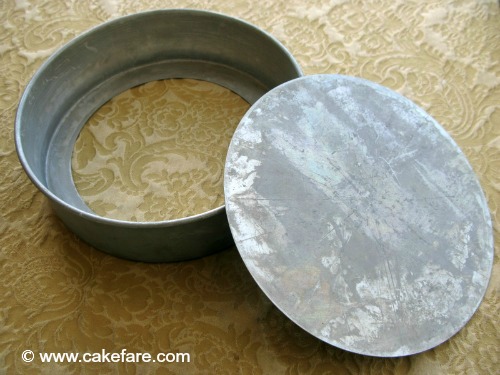
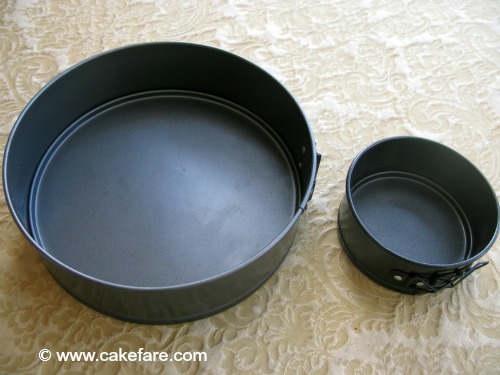
- I always recommend using a cake pan with a removable base, especially with a round pan. There are a couple of different designs. One has the base sit into the pan and you have to push up from the bottom to remove the cake.
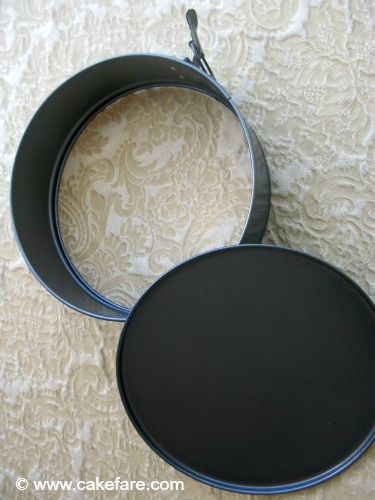
- The other type has a clip at the side which when loosened means you just lift the sides off the base - really easy!
Option One
Square Pan
Place the paper evenly over the top and press into the pan. Ease the paper into the sides. The corners will pleat a little. Press the paper so the folds are sharp and flat against the tin. When you remove the paper you can clearly see the outline of the base. You can
Round Pan
1) Tear off a sheet of baking paper slightly larger than the pan.
2)Press into the pan. Press well into the corners so you have a clearly defined crease mark.
3) Now remove the paper and cut around the line. Your piece of baking paper should fit perfectly into the base of your round baking pan.
4)Now lightly grease the sides of the pan with butter. If you have a good non stick pan you will not need to grease the sides.
Square Pan
Place the paper evenly over the top and press into the pan. Ease the paper into the sides. The corners will pleat a little. Press the paper so the folds are sharp and flat against the tin. When you remove the paper you can clearly see the outline of the base. You can
- Fold the extra paper on the line so it is tucked underneath giving a nice clean line or
- Cut with scissors around the outline, then drop the baking paper into place
Round Pan
1) Tear off a sheet of baking paper slightly larger than the pan.
2)Press into the pan. Press well into the corners so you have a clearly defined crease mark.
3) Now remove the paper and cut around the line. Your piece of baking paper should fit perfectly into the base of your round baking pan.
4)Now lightly grease the sides of the pan with butter. If you have a good non stick pan you will not need to grease the sides.

|
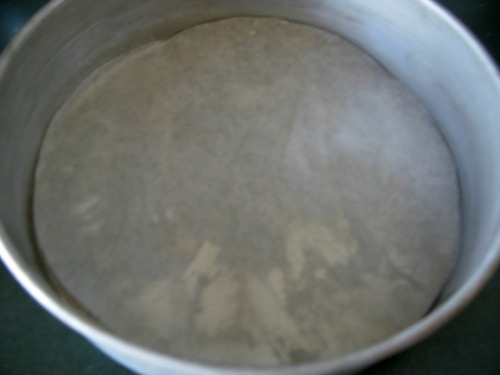
Press baking paper into lower edge of cake pan to make a crease.
|
2) Remove paper and cut around the circular crease mark.
|
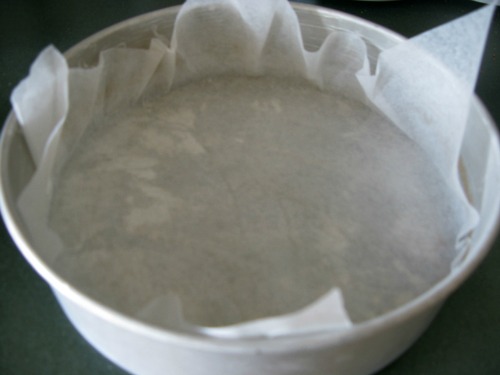
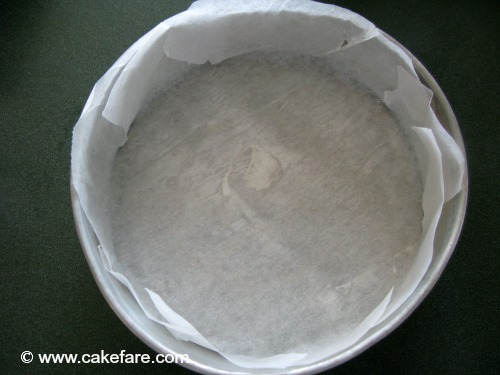
Drop baking paper circle back into the pan. Grease sides if not non stick pan.
|
Option Two
Square Pan
Place the paper evenly over the top and press into the pan. Ease the paper into the sides. The corners will pleat a little. You can just press the paper so the folds are sharp and flat against the tin or cut with scissors down to the base and then fold the paper around each side.
Round Cake Pan
This method leaves the paper up the sides of the pan.
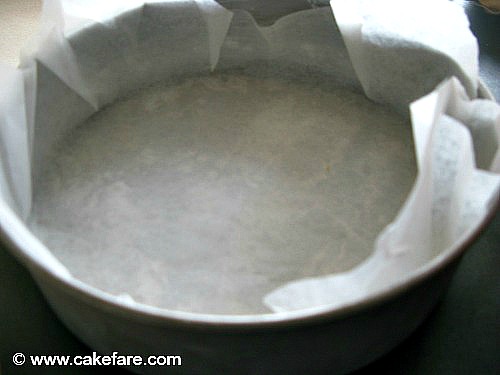
1) As for option a) press the paper into your pan. You will have several paper fold around the sides.
2)Using your scissors cut straight down to the base of your paper where the fold occurs. Probably 4-5 cuts.
3) Fold the cut paper around the sides. This does not have to be neat. The pan will be totally covered with baking paper. Press paper well against the sides and you are ready to fill with the cake mixture.
Square Pan
Place the paper evenly over the top and press into the pan. Ease the paper into the sides. The corners will pleat a little. You can just press the paper so the folds are sharp and flat against the tin or cut with scissors down to the base and then fold the paper around each side.
Round Cake Pan
This method leaves the paper up the sides of the pan.
1) As for option a) press the paper into your pan. You will have several paper fold around the sides.
2)Using your scissors cut straight down to the base of your paper where the fold occurs. Probably 4-5 cuts.
3) Fold the cut paper around the sides. This does not have to be neat. The pan will be totally covered with baking paper. Press paper well against the sides and you are ready to fill with the cake mixture.
|
1) Press Baking Paper into Cake Pan to make a clear crease on the bottom edge.
Also crease the folds so you can see them. Cut excess paper from the top. |
2) Cut from top to bottom edge at several places around the pan. Overlap the cut pieces to make a smooth edge
|